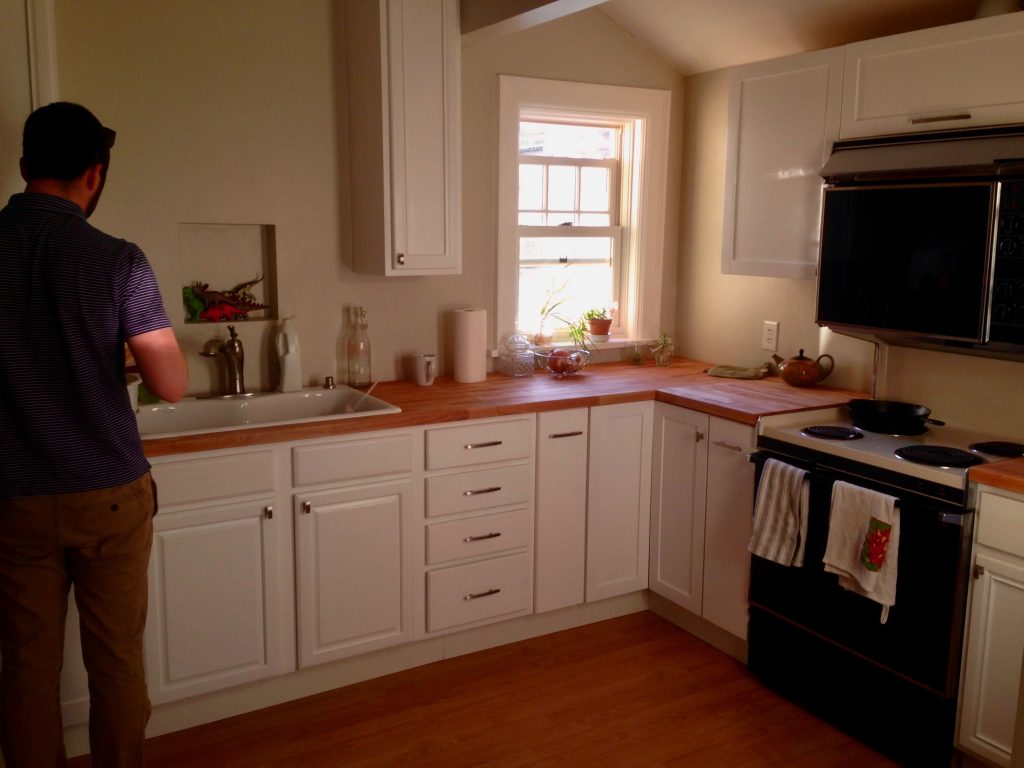
Adam’s been telling me all along that I should be posting the renovations to the house that we’ve been making over the years. So, here’s the kitchen project. You may have seen the before and after photos, below, but here is a deeper dive.
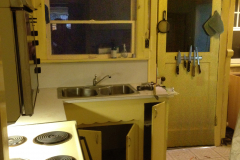 What we started with...
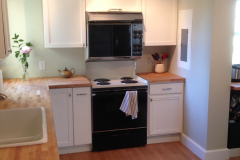 same photo after we finished...
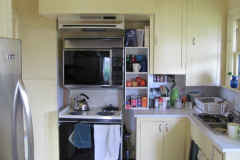 We liked our kitchen well enough when we moved in...
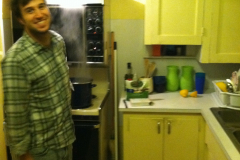 but it was a small kitchen...
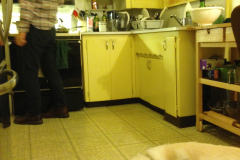 and oh so very green-yellow. Yes, that's Dewey the dog...
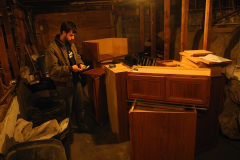 One day I found a neighbor throwing out their kitchen cabinets on the curb. I brought them home and we came up with a plan...
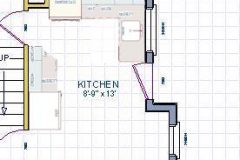 This is pretty much the original layout of the kitchen...
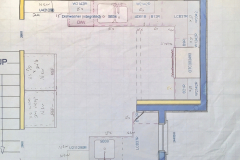 The new plan utilized the cabinets we could salvage...
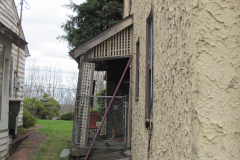 and gained space using the side porch...
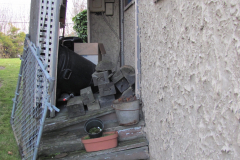 the very sad side porch...
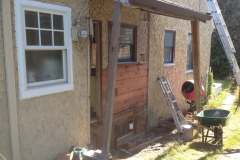 at least the roof was good?...
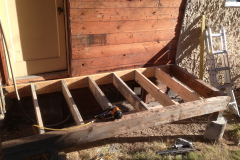 the rest needed to be repaired...
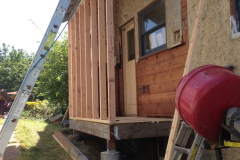 studs...
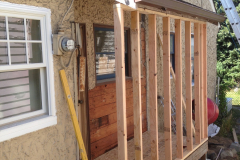 the same studs...
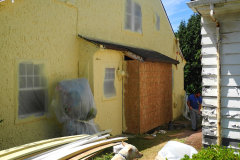 ply...
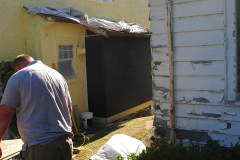 tar paper for weather protection...
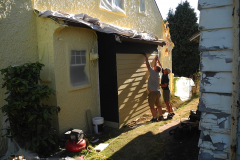 siding...
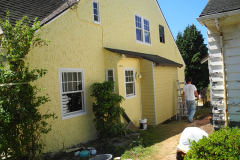 just needed paint...
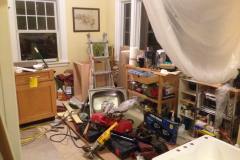 Once the side porch was done we just needed to move everything out of the kitchen. Don't have any photos of us washing dishes in the bathtub or making dinner on a camp stove in the living room. Bummer...
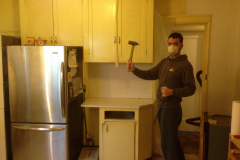 then we were ready for demo. The best part. I dream of a world were all we only do demo and that is the beginning, middle, and end of construction...
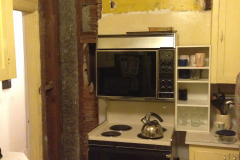 Joel was bartering at the house and removing the plaster hood over the stove was one of his first jobs...
 It was a mess, but we always had fun...
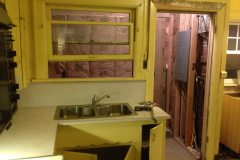 With the porch walled in and insulated, demo fun-times continued...
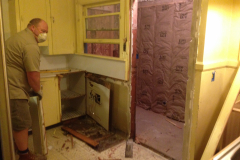 and continued...
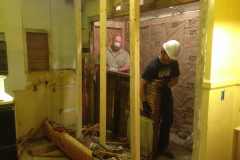 and continued...
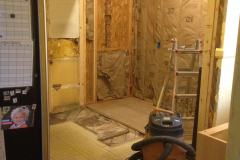 The house didn't fall down when we took the wall out. Fun times...
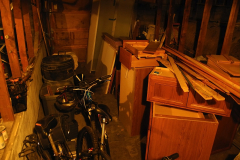 Meanwhile, about those cabinets...
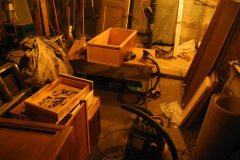 mostly my saintly folks let me lock them in the basement to sand all of the finish off the old cabinets...
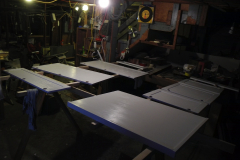 and paint and repaint. and sand. and repaint. and sand. SAINTS!...
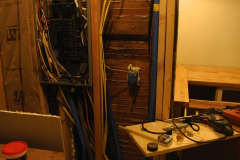 Also, there were some loose ends with the electrical we needed to tie up...
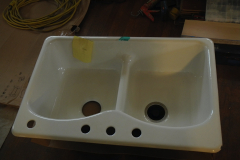 and I continued to hunt for things like this sink I found at an architectural savage place for $40...
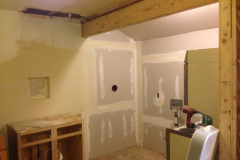 Drywall happened. That circular hole marks the location of a future window...
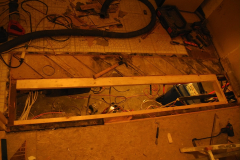 Um. So, there was also a little hole in the floor between the porch and the main room due to rot. Yes you are looking down on one of our garbage cans in the basement...
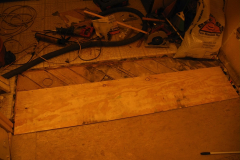 we covered it up...
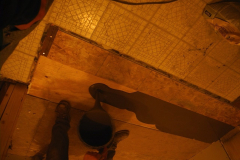 and due to differences in floor height and settling between the new space and the existing, we poured self-leveling concrete on top of the plywood to even things out...
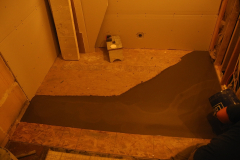 looked like this when we were done...
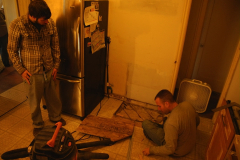 time to start flooring...
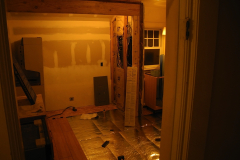 put down some padding and found some flooring for $100...
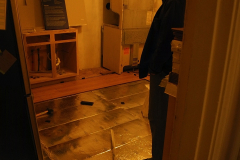 my brother did most of this installation...
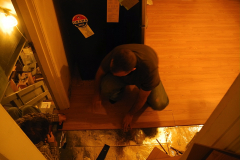 It was like tetris except the only fun part of the game was being done with it...
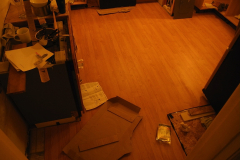 and that took a while...
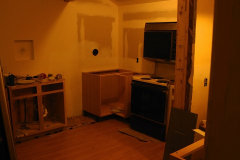 but we finally got there...
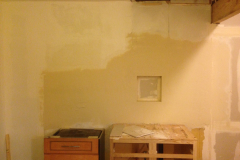 time to put more cabinets in...
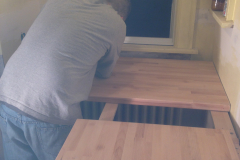 and ikea butcher block countertops. Only a bit more that $100, per 8-foot section...
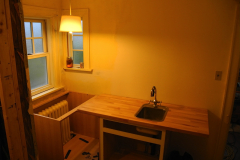 a section of the counter installed with our second sink (I found for $25!)...
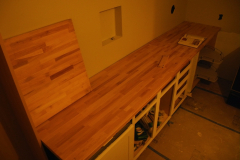 after installing the counter we had to cut holes in the top..
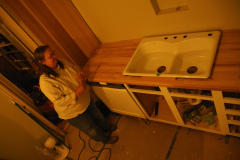 to put the sinks in...
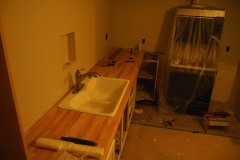 that was a cut we didn't want to make twice...
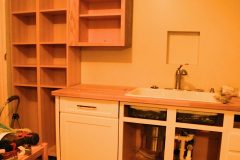 but it all started coming together. I found a dishwasher with a cabinet front for $125. I refinished it and painted it (pictured to the left of sink). It came with a handle I liked so much that I tracked down the hardware and we did hardware in the rest of the kitchen the same...
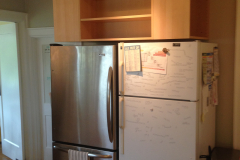 In addition to the second sink and dishwasher we added a second fridge to make the kitchen a happier place for a shared household...
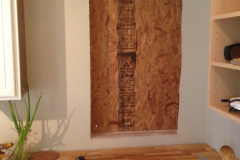 remember that hole in the drywall for the future window? The hole got bigger...
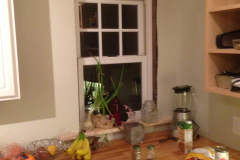 and the window went in...
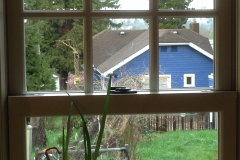 finally we could look out...
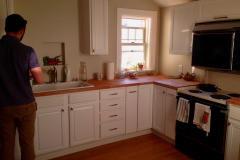 and the kitchen was done...
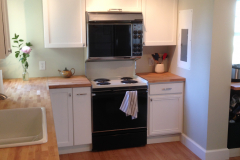 We kept the old double oven...
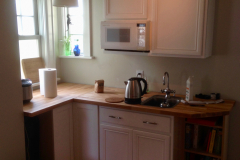 and made a tea station near the second sink...
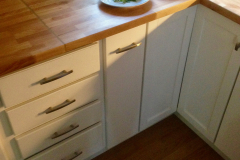 here is the hardware I liked from the salvaged dishwasher...
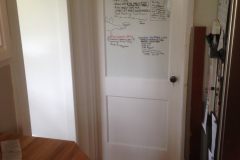 Homemade dry-erase door to leave messages for one another. Fun project, but involved lots of sanding...
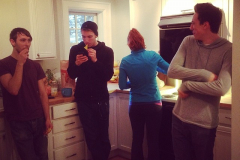 Enjoying the finished kitchen.

